Everyone wants to look their best and one way to do that is with makeup. Makeup won’t make you look like a super model but it will help you look your best. It will enhance the features you want people to see and it will help hide your flaws. If you have never worn makeup before, then you need to read this complete guide to learn about makeup for beginners.
For some people, finding the best makeup application technique can be a challenge. But knowing the type of product to use, where to use them, and how to apply them is what will help you look your best.
If you are just starting your journey in the makeup world, here is an all-inclusive how-to guide on makeup for beginners and how to apply it.
Table of Contents
Makeup Essentials for Beginners
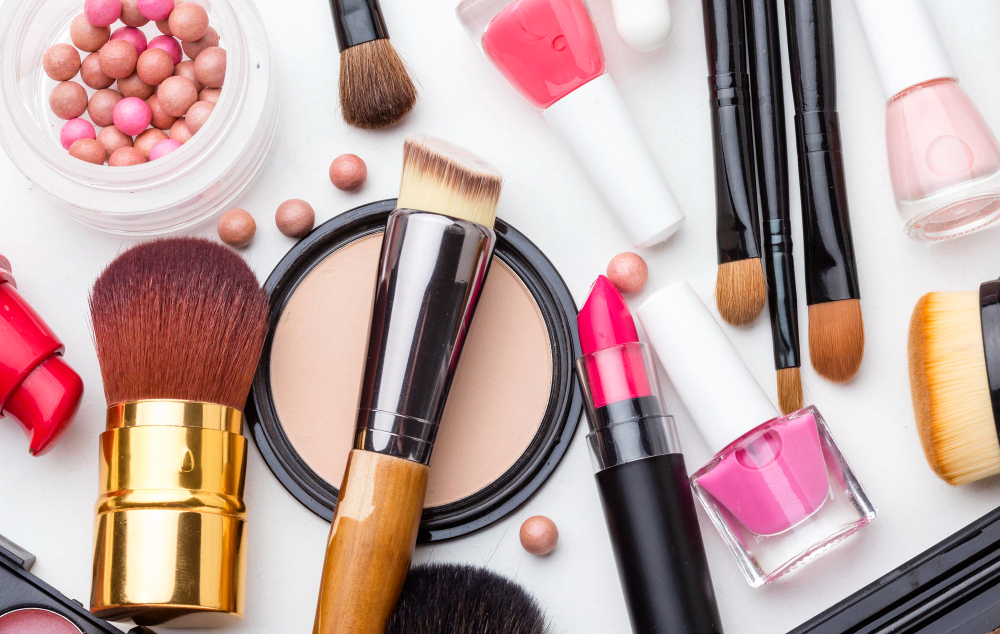
To successfully apply makeup, there are several essential makeup tools for beginners that you need to have. From sponges to brushes, here is an overview of what your makeup kit for beginners should have:
Makeup Tools for Beginners
A Brush Set
You need to have a combination of several makeup brushes in your starter kit. They include the classic thick and firm foundation brush, the concealer brush that can also act as a small foundation brush, the powder brush, the contour brush, the blush/bronzer brush, and the highlighter brush among others.
Sponges
Sponges are ideal for applying liquid foundation. They also work well for creating a more even foundation application. A sponge can harbor bacteria and germs so be sure to clean it after every use.
Makeup Products for Beginners
Primer
Primer is used to prepare the skin to ensure that you have a smooth and flawless base. It can ensure that your makeup remains in place all day.
Foundation
Foundation can come in the form of a liquid or a powder. It is used as the base to give skin an even, flawless look. Besides that, the foundation helps to add some shine to the skin.
Concealer
Concealer works overtop of the foundation to provide extra coverage, leading to a smoother and even skin tone. It also enhances the effectiveness of the concealer since it can disguise scars, blemishes, puffiness, and other facial skin imperfections. If you have dark circles under your eyes or a prominent pigmentation, this can be the best camouflaging makeup.
Eyebrow pencil
It’s worth noting that your eyebrows are among the most essential makeup application areas. So, you need to shape and fill them in using an eyebrow pencil. Eyebrow pencils are great for providing brow definition, taming, or simply grooming.
Mascara and eyeliner
People normally use mascara and eyeliner alongside each other to help to brighten the eyes’ appearance. Mascara will make your eyes pop thanks to its ability to add volume, lengthen, and curl the lashes. For a better eye accent, you can use a contrasting or complementing shade of eyeliner.
Setting powder/spray
The best thing about current powder products is that they aren’t talc-filled. So, they are safe and ideal for use in locking up your makeup right in place. Besides that, a setting powder is ideal for providing a smooth texture and extending your makeup’s wear. If you want to achieve an almost natural look, then use a setting spray.
Bronzer
Bronzer is essential in providing depth and dimension to your face in addition to natural color. A well-chosen bronzer shade will give you a vibrant and healthy glow. If you are going to spend some time in the sun, bronzer will enhance your tan by darkening your skin.
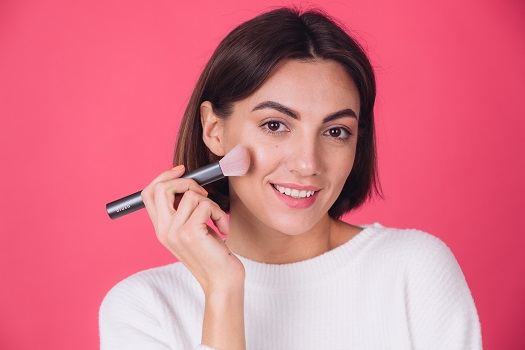
Blush
Blush gives your cheeks the natural and perkier glow that it needs after you have applied the foundation. It normally has an energetic effect, especially if the chosen blush product matches your complexion. If you are struggling with a hangover or puffy eyes, this is one of the best makeup products that you can use to achieve a “wide-awake” effect in a couple of minutes.
Lip-gloss and lipstick
Lip glosses come in a wide array of finishes including color/nude, matte/shiny, and liquid/cream. Quality and effective lip gloss will nourish your lips and promote healing of the skin. Besides adding a glamorous shine, this product can also make your lips appear plumper.
You don’t have to apply lipstick after lip gloss but this is something that doesn’t miss in most makeup kits. Depending on the color, lipstick helps to enhance your lips’ definition and giving it a color pop. It brightens your smile and can also be used to complete your outfit.
Highlighter
Highlighter is a makeup product for beginners that attracts light thereby creating a deep illusion of brightness. Most celebs normally use it with contouring in order to push back some facial features while lifting others.
Makeup wipes
They are often travel-friendly makeup removers that you can use to remove your makeup in the event that you can’t wash your face.
Note: These are some of the most commonly used makeup products. However, there are still several other options including eye shadow palette, lip liner, eyelash curler, and eyeliner among others.
List of Makeup Products for Beginners
| Brush Set |  | EcoTools Makeup Brush Set |  |
| Sponges |  | BEAKEY 5 Pcs Makeup Sponge Set | |
| Primer |  | Rimmel Stay Matte Mattifying Primer | |
| Foundation |  | Maybelline New York Fit Me Matte Foundation | |
| Concealer |  | Maybelline Instant Age Rewind Eraser | |
| Powder |  | Coty Airspun Loose Face Powder | |
| Bronzer/Blush/Highlighter |  | Afflano Bronzer Highlighter Blush | |
| Eyeshadow Palette | NYX PROFESSIONAL MAKEUP Ultimate Shadow Palette | ||
| Eyeliner | Maybelline Hyper Easy Eyeliner | | |
| Mascara |  | L'Oreal Paris Lash Paradise Mascara | |
| Lip Liner | 12pc Italia Deluxe Ultra Fine Lip Liner Set | ||
| Lip Gloss | Rimmel Stay Glossy Lip Gloss | ||
| Lipstick | Maybelline Color Sensational Lipstick | ||
| Setting Spray | NYX PROFESSIONAL MAKEUP Makeup Setting Spray | |
Makeup for Beginners: The Application Process
As a beginner, where do you even start? Do you begin with the primer, moisturizer, or mascara? Well, achieving a good look requires that you follow a certain sequence of steps when applying your makeup. However, the number of products usually varies depending on the look that a person is trying to achieve. Below is an overall overview of the application process ranging from the application of moisturizer to compact powder, and setting spray.
Step 1: Apply Moisturizer
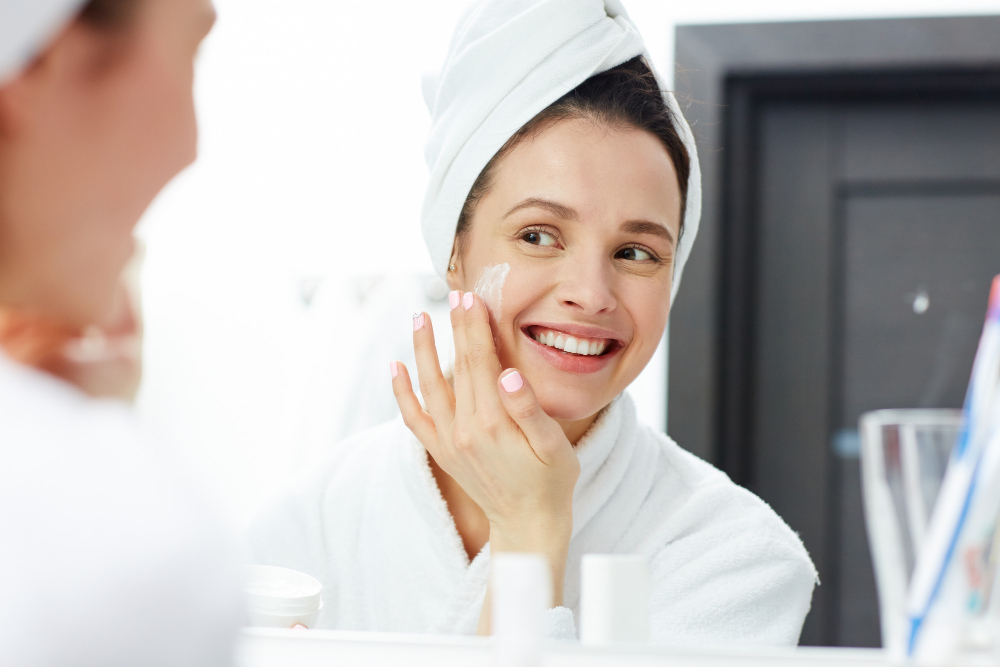 This is usually the first and most important step when applying makeup. A moisturizer allows you to prep your skin by preventing dryness. It also soothes sensitive skin and offers protection against harsh sunlight rays.
Note that there are several types of moisturizing products and they include:
* Oils: they are usually the heaviest. Moisturizing oils are great for those with sensitive skin types and need lasting hydration. However, you should avoid it if you have oily skin or have acne-prone skin.
* Creams: they are less heavy than oils but good for providing lasting hydration as well. Moisturizing creams can also be used as the base of the foundation.
* Lotions: these moisturizers are moderately heavy and one of the most used types. Lotions are ideal for various skin types but you should always consider the non-comedogenic type to avoid clogging your skin pores.
* Serums: their high popularity is driven by the fact that they are lightweight. Serum moisturizers get easily absorbed in the skin. They are usually versatile because they sometimes help to enhance skin brightness and prevent the development of fine lines and wrinkles.
* Face mists: they are the lightest types of moisturizers. Most of them usually have fragrances and vitamins that boost the skin’s appearance. They are mostly used to promote a dewy appearance.
So, how should you apply your moisturizer? It might look easy and you probably think that you should just massage it on your face. But remember, you want to achieve a premium appearance.
Put a reasonable amount of the product in your fingers and then start by rubbing it in from the forehead. Go down to the sides of your face and then around your cheeks. At this point, you should gently move your hands upwards, downwards, outwards, and inwards, towards your nose.
Cover your T-zone and nose area, to your forehead and cheeks again, down to your chin, and under the nose. Do this for around 60 seconds.
Step 2: Apply the Primer
 You don’t always have to apply a primer and that’s why some people skip it. But it helps to hold your make-up, especially if it’s a warm day or you have a demanding work schedule. A primer normally helps to give you uniform makeup wear and so you will not have uneven patches.
Ensure that you apply an ideal amount, using your fingers or a makeup application sponge/brush.
Step3: Apply the Foundation
 This is one of the steps where you need to pay deeper attention because it affects your whole facial appearance. For starters, you can apply the foundation using a brush or your fingers. If you intend to use your hands, then ensure that they are washed and clean.
Besides that, you should understand that both the brush and your fingers will give you different types of coverage. A brush is ideal for a full-coverage look while fingers are ideal for a light coverage look.
The application process usually varies but it’s generally good if you consider starting from the central part of your face and then start to blend while going outwards. Gently but firmly apply the foundation to ensure that all the scars, creases, and fine lines are covered. The goal should be to create a smooth and even skin texture.
Note: Ensure that you choose a foundation that naturally blends with your skin. You don’t want to walk around with two skin tones on your face.
Step 4: Apply the Concealer
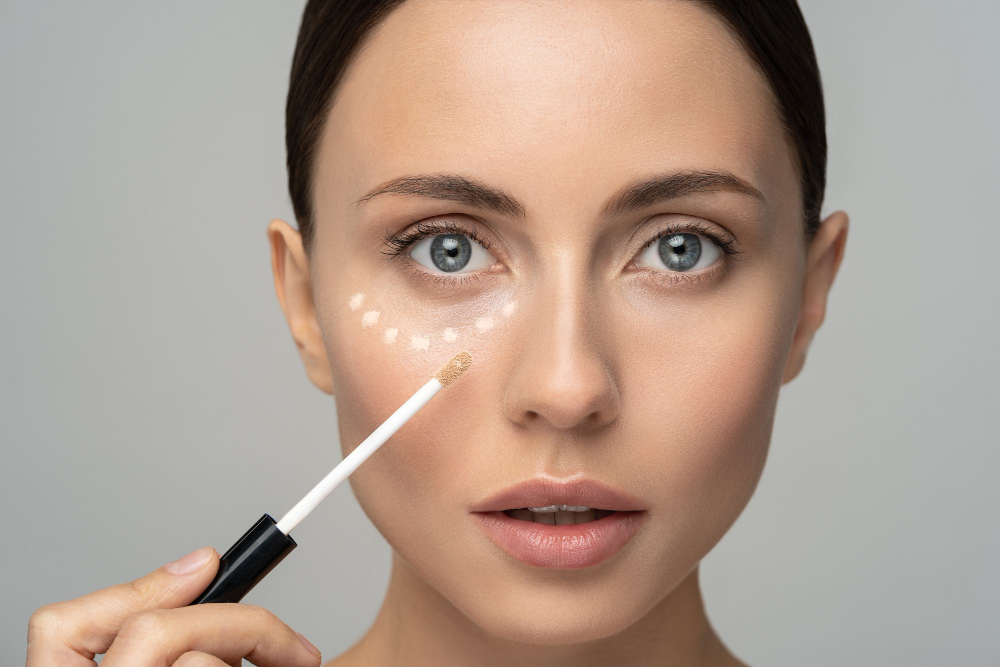 A concealer simply lives up to its name. it’s meant to cover those dark cycles under your eyes, spots, and blemishes. And just like the foundation, you can either use your fingers or a brush. Of course, you now know the game that a brush would be great for a full-coverage look while your fingers are ideal for a light coverage look.
There are two types of concealer products. Compact stick concealers are ideal for application on specific parts of the face. They are also ideal for heavier coverage. Meanwhile, liquid concealers are ideal for a large face area. They are also suitable for creating a light finish.
You are supposed to use a concealer to diminish the appearance of blemishes and fine lines. As a result, you should specifically apply it directly to the problematic areas. But generally, people usually apply concealers to the following facial parts:
* Under the eyes
* On the sides of the forehead, horizontally
* On the nose’s bridge.
* The curving arches found on top of the chin
Note: Ensure that you carefully blend your concealer. You can always cover it with a setting powder or foundation as well.
Step 5: Apply Finishing Powder
 Apart from primer application, this is another step that you can skip. Well, a lot of people do skip it because applying the finishing powder can be quite a challenge. If by mistake you apply too much of it, then you will end up with that “cakey” look. Powder shouldn’t be skipped if it is a hot day or if you need your makeup to last a long time. The powder will keep your foundation and concealer from melting, cracking up or disappearing. It essentially locks it into place. Another benefit of powder is that it will prevent sweat and oil from your skin soaking into your makeup and looking shiny.
Applying a moderate amount of powder using a large fluffy brush will help finish your look and will lock in your makeup all day long. Just make sure that you only dust a light coat over your face. Too much powder will cause your foundation to separate and will give you extra wrinkles where you don’t want them. The oiler parts of your face, especially the t-zone and chin needs more powder.
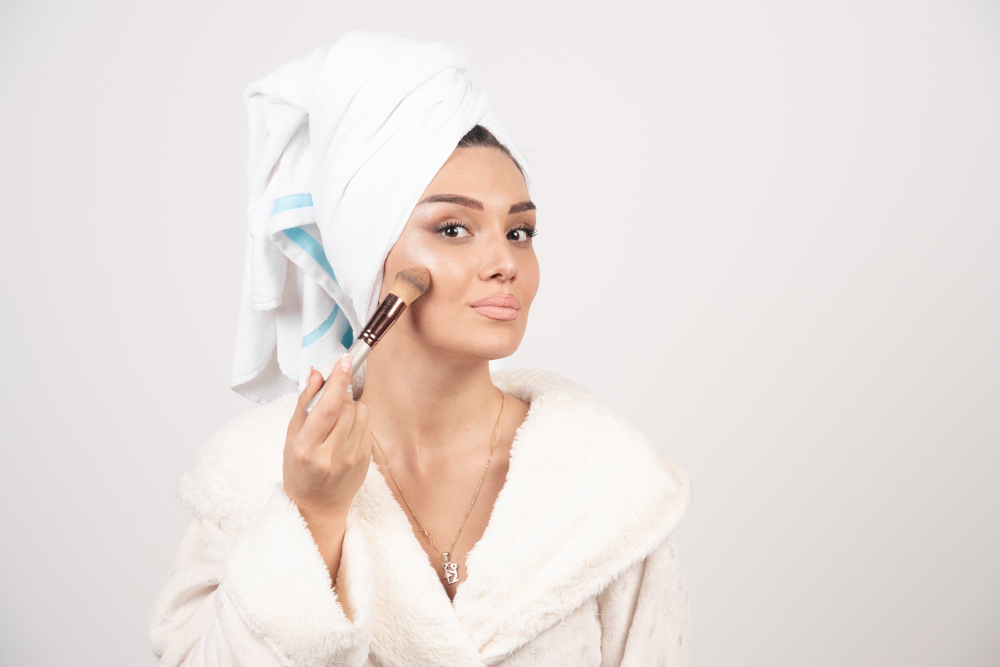
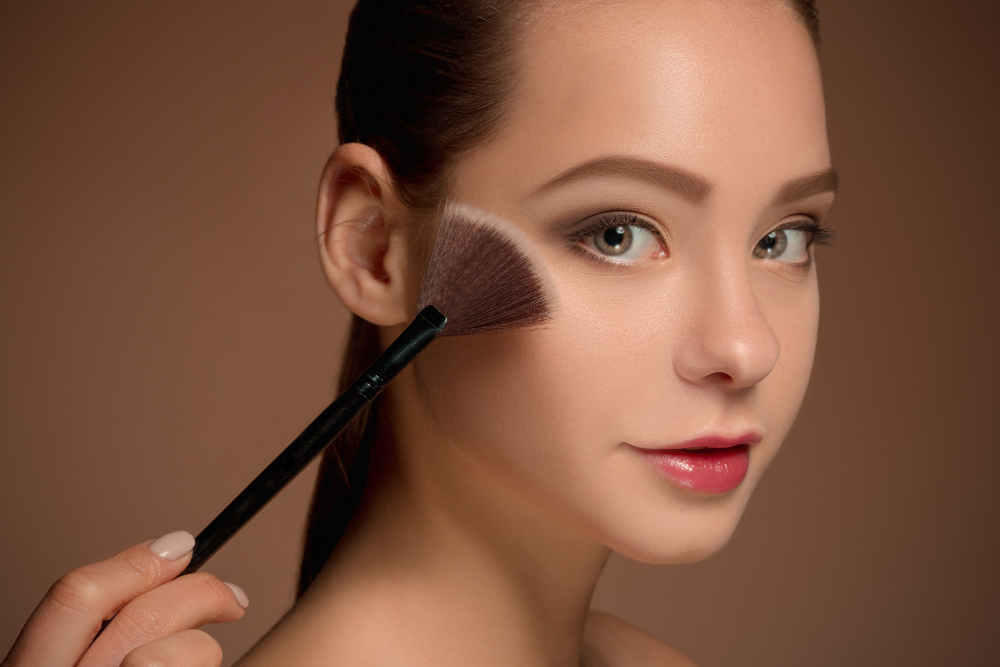
Step 6: Apply Bronzer and Blush
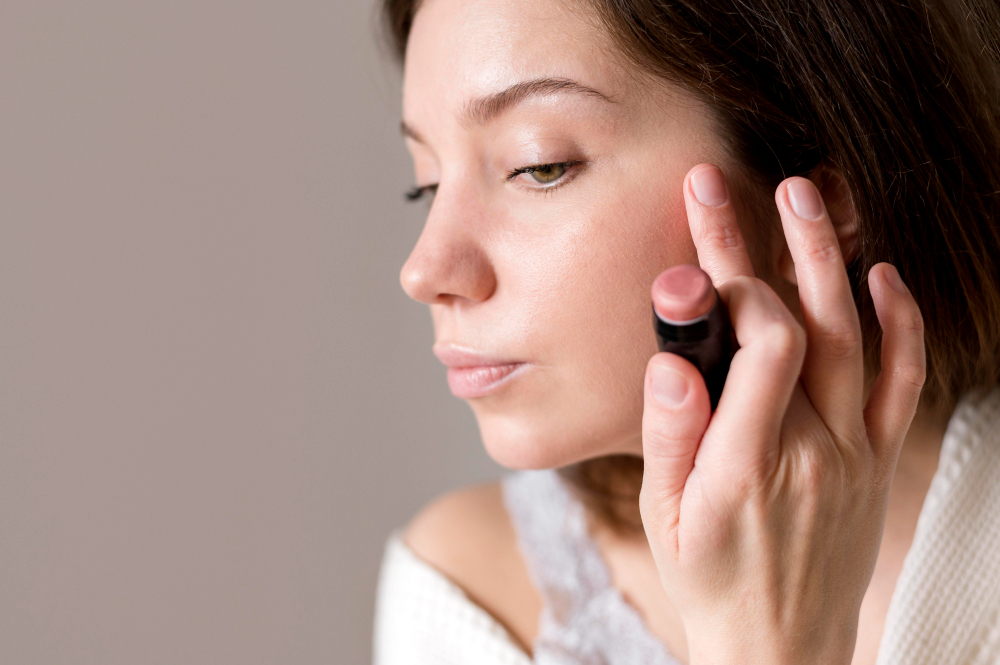 A bronzer will give your face some sense of warmth hence it’s ideal for a sunny glow. You should apply it using a specified bronzer brush with tighter and firmer bristles.
Start from your hairline, your nose’s bridge, and then move towards the high points of your cheeks. Carefully sweep the brush down to your jawline until you reach down your chin. This is where you should be extra careful because you need to ensure that the bronzer blends with your neck.
For some sense of brightness, apply the blush, especially if you want a vibrant complexion. Don’t forget to use a dense brush when applying the blush in order to give your cheeks a flushed appearance. Even though there are several types of blush products, pink blush is the most common.
Step 7: Apply the Highlighter
 Your makeup look will never be complete without a highlighter. A highlighter makes your makeup vibrant by adding a glowy look. Its normally applied to areas that will bring you more attention, especially the cheekbones.
You can find a highlighter in a variety of forms including powders, creams, and liquids. Use one form or a combination of highlighters, depending on your preferences. Apart from the top area of your cheekbones, here are some of the other places where you can apply this makeup:
* The center of your forehead
* Your nose’s bridge
* Your brow bones
* Your eyelids’ inner corners
* The cupid’s bow
* The central part of your chin
At this point, we have covered all the basic parts of your face that need makeup. So, what about your eyes and lips? They play an important role in accentuating your makeup and that’s why you should give them attention.
Step 8: Apply Eyeshadow
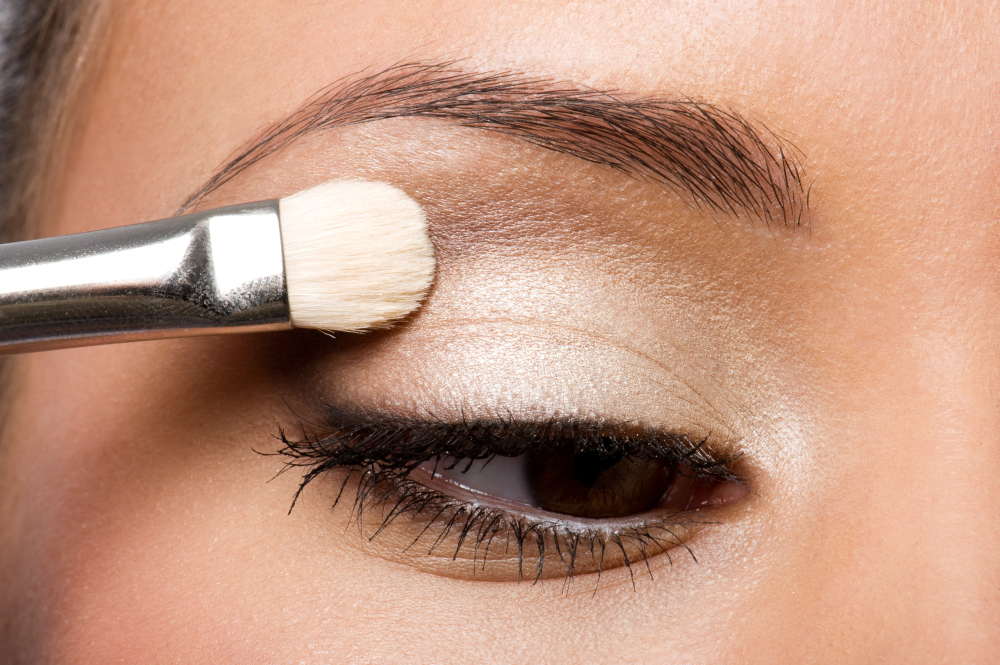 Enhance your face’s appearance by applying eyeshadow. You can always use a wide range of the available color hues to create a look that goes with your mood and the day’s duties. The best thing about eyeshadow is that it’s always nice to blend multiple color palettes in order to create a distinct uniqueness.
When applying eyeshadow, always start with the lighter shade and it should cover the whole eyelids. Thereafter, apply the darker shade and ensure that it covers your eyes’ outer corners, your eyelid’s crease, as well as the area under the brow bone. After this, ensure that you blend the eyeshadow, using a different brush of course.
Step 9: Apply the Eyeliner
 The main reason why a lot of people find the application of eyeliner difficult is that one mistake will simply destroy the whole look. But there are those people who have mastered the art of eyeliner application. There are three different types of eyeliners and each has a slightly different application technique.
* Pencil eyeliner: it’s beginner-friendly and the simplest to use. simply apply the sharpened end on your eye’s waterline. Pencil eyeliners are generally used to create smokey eyes.
* Gel eyeliner: it’s normally used to create the cat-eye look and so you have to start the application process from the middle part of the lash line while moving outwards. You have to finish this look by drawing a line from the inner corner of your eye going towards the top of the middle part again.
* Liquid eyeliner: start by drawing a thin line from your eye’s middle part to the inner corner and make it thicker as you move towards the outer corner.
Step 10: Apply the Mascara
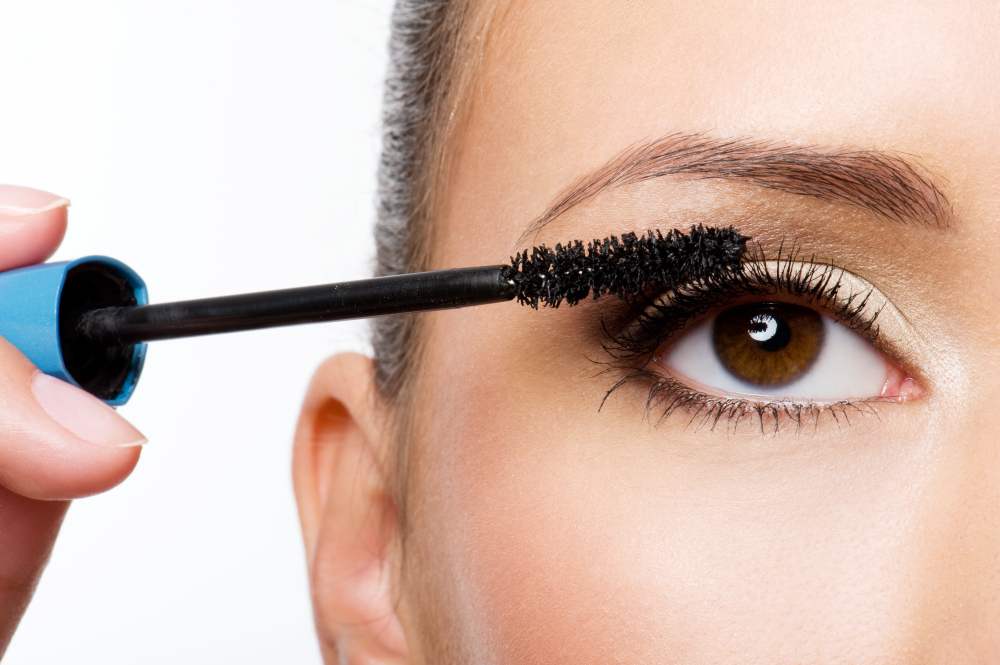 There are people who can’t go out without applying mascara and it’s possible to understand why. This is one of the makeup products that shouldn’t miss on top of your top 5 because mascara will make your eyes pop up by making them brighter.
It is quite easy to apply it since you only need to ensure that you start from the base of your upper lashes and then move the curler upwards after a few seconds. Do so repeatedly until all the lashes are curled thick. You can always apply two coats if you need more volume.
Step 11: Apply the Lip Liner
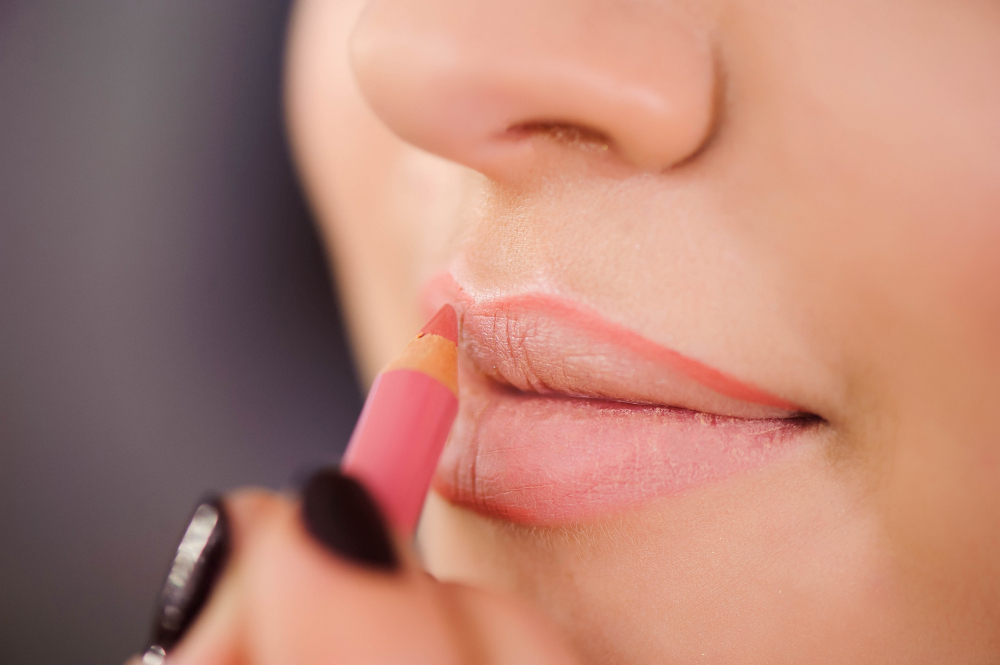 Do you think that you need to apply it? Well, as much as you might be tempted to ignore it, it’s great for contouring your lips. Using a lip liner can make your lips look bigger without having to use a lip filler. It also makes the lipstick last longer and when you apply your favorite lipstick shade, you will definitely end up with a distinct 3D effect.
Step 12: Apply Lip Gloss and Lipstick
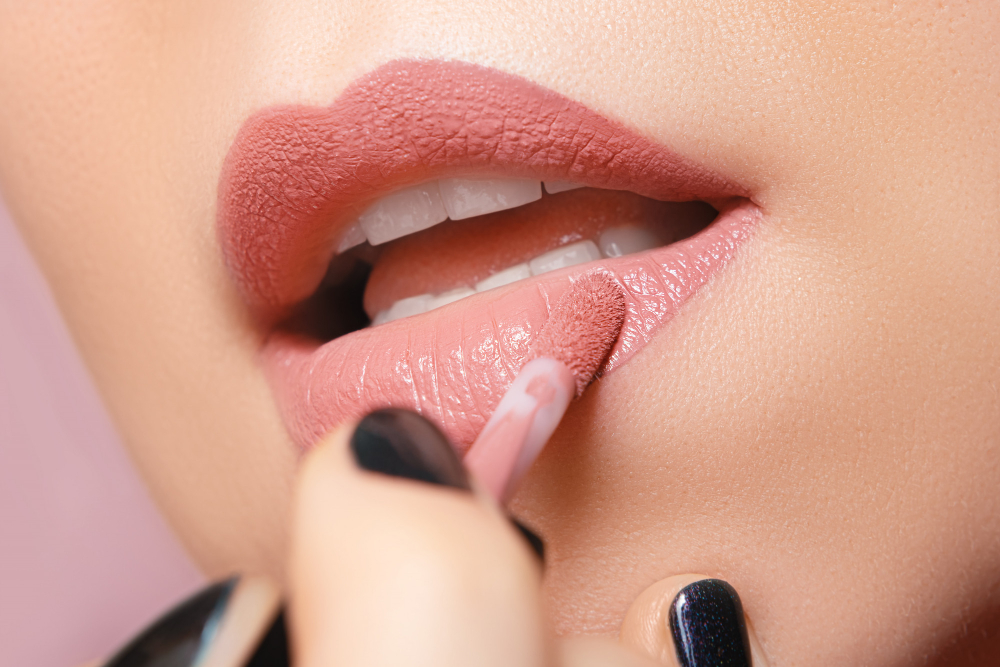 Start with the lip gloss to prep your lips for the application of lipstick. Apply the lip gloss from the central part of your lips and then move towards the sides. Smack your lips several times to achieve a uniform effect.
Note that you can always stop at this point but you can go ahead and apply lipstick if you wish. Simply use the same process by starting from the central part before moving to the side. Do the kiss pout effect several times to create a filling look.
Step 13: Apply Setting Powder + Setting Spray
 This is the final step and you will be done! You can use either depending on your preferences. If you have to use a setting powder, then get a fluffy brush to create the “matte” effect. if you want a more natural look, then use a setting spray. Just spritz it a couple of times on your face and it will naturally dry on your face after a few seconds.
Makeup For Beginners: Tips and Tricks Every Beginner Needs to Know
From the above overview, it’s clear that there is a lot that goes in during makeup application. This means that you have to know what to start with or follow a specific sequence. However, you can still forego the use of other items while you can use similar products for different purposes.
Besides that, you don’t have to overburden yourself with each of these products. you simply have to know what to use, where, and when. Below are some of the most important makeup tips and tricks for beginners.
* Exfoliate your lips before applying lip-gloss or lipstick. A gentle scrub would be highly effective in prepping your lips and ensure that they are smooth and without dry skin.
* Get a spoolie brush for your eyebrows. This will make up the filling process and combing or the arches quite easy.
* Always apply the foundation before the concealer. Doing so will help to minimize skin discoloration and create a smooth base for the rest of the makeup items. If there are any remaining scars and zits, then you can apply the concealer.
* Ensure that your primer perfectly complements your foundation. Your face needs to have the same type of base or else these two products will repel each other.
* Identify your focal points. You are not going to apply makeup every day. However, this doesn’t mean that you should be crusty. A little mascara, a dash of concealer under your eyes, a dash of highlighter on your nose’s tip, and some lip gloss to refresh your lips could still do you great justice.
* Use feathery strokes for your eyebrows. If you are using an eye pencil to fill your eyebrows, then start by applying some light feathery strokes.
The Bottom Line
When it comes to make-up application, there is a lot that usually goes in. sometimes you might not be able to invest in all the required products. On the other hand, you might not be able to follow a comprehensive sequence of steps every day.
However, once you have understood the basic components you need and how to use them, then your application process will be easier. The aforementioned makeup for beginners application steps are the simplest to use. it ensures that you attain a stunning appearance in the shortest time possible.